Google Cloud Identity Platform
Google Cloud Identity Platform provides authentication, authorization, and user management for your web and mobile applications. It provides a set of SDKs that enable you to integrate authentication and authorization into your applications. You can use Identity Platform to authenticate users using their Google accounts, or you can authenticate them using their email address and a password. You can also use Identity Platform to store user accounts and user profile information.
Setting up Google Cloud account
Company Google accounts will be provided for staging and production environments. Developers can use their personal Google Cloud accounts for personal development environments.
If you don't have a Google Cloud account, you can create one by following the steps given below.
- Go to Google Cloud Platform.
- Click
Start free. - Enter your details and click
Start my free trial. - You will be redirected to the Google Cloud Platform Console
Setting up Identity Platform
- If you haven't already, create a new project by clicking
Create Project. - You will be redirected to the project dashboard.
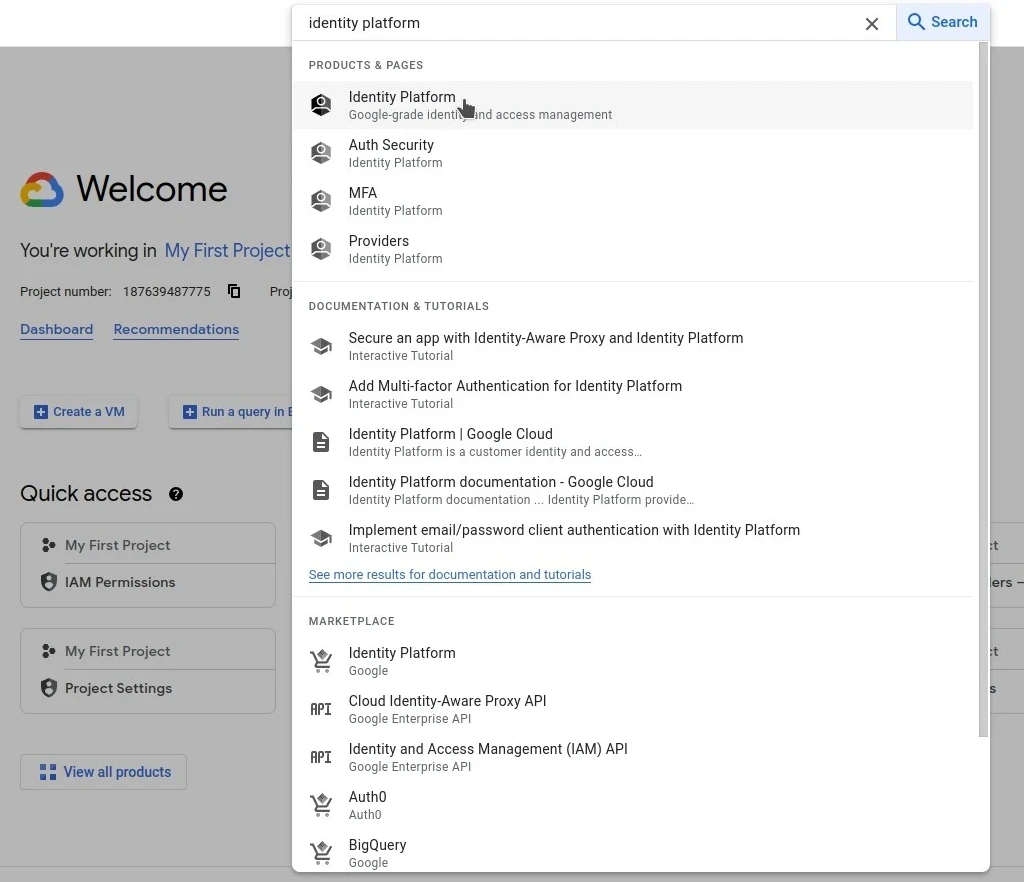
- Search for Identity Platform in the search bar and click
Identity Platform.
- Click
Enable Identity Platform.
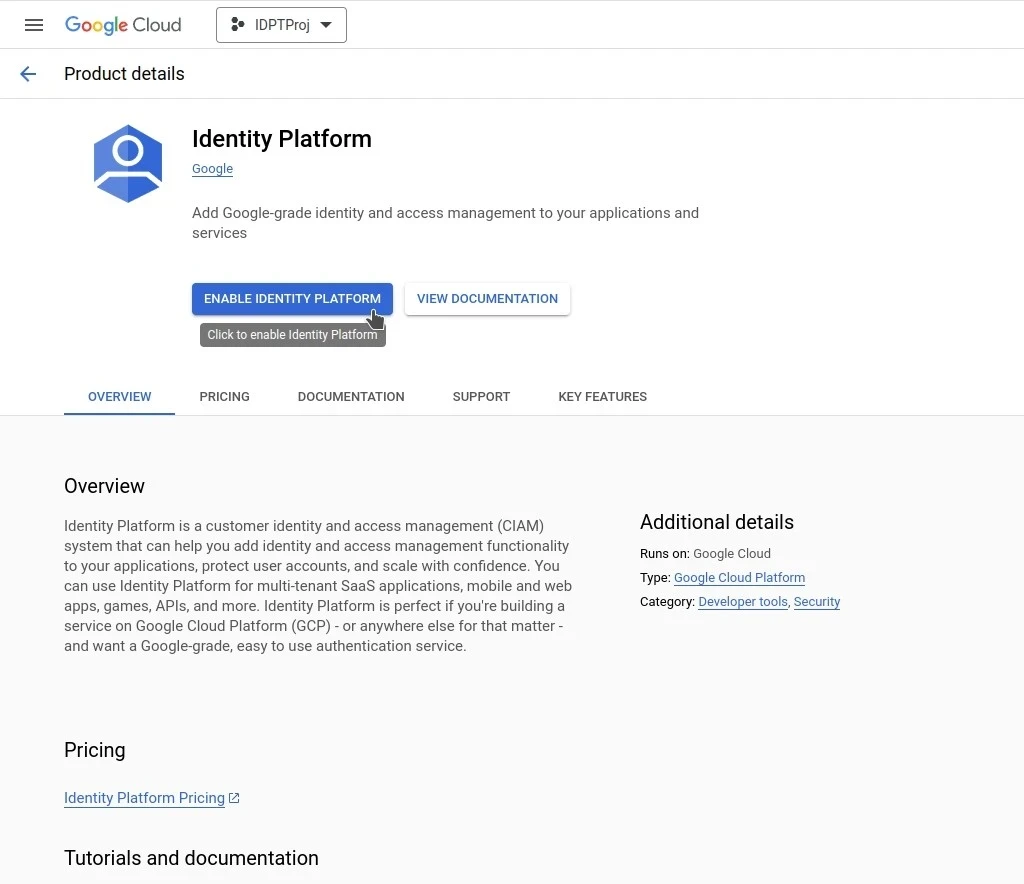
- You will be redirected to the Identity Platform dashboard.
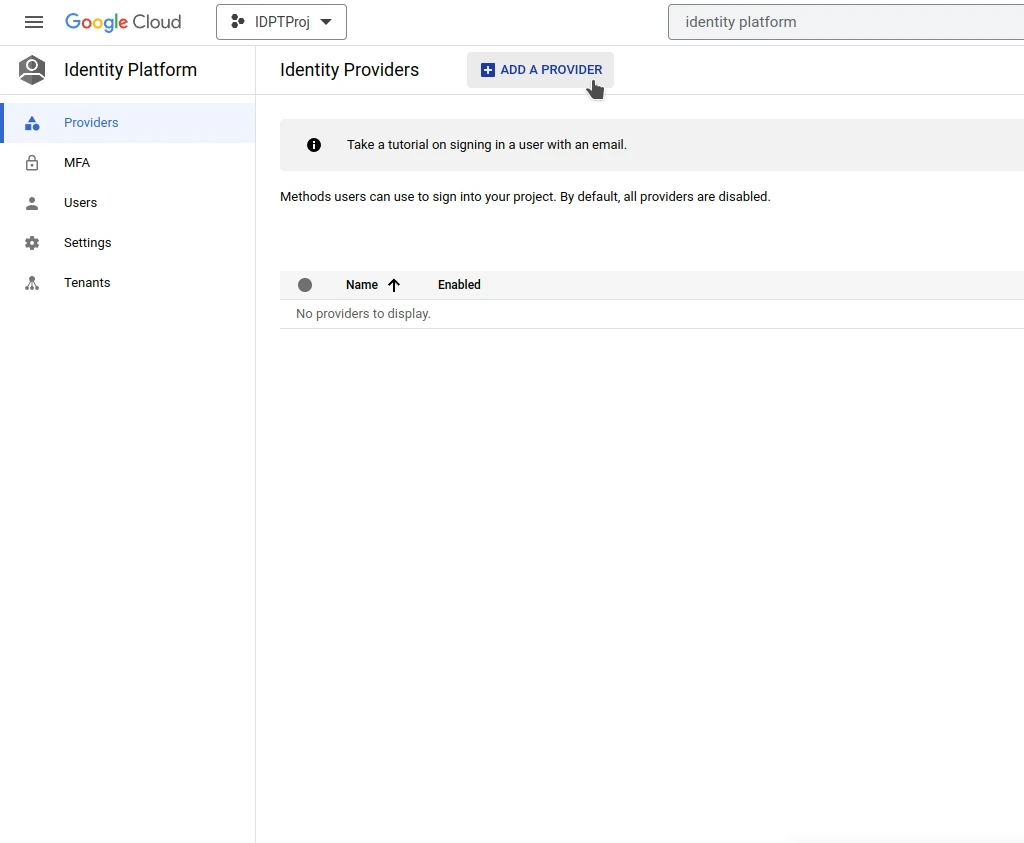
- Click
ADD A PROVIDER
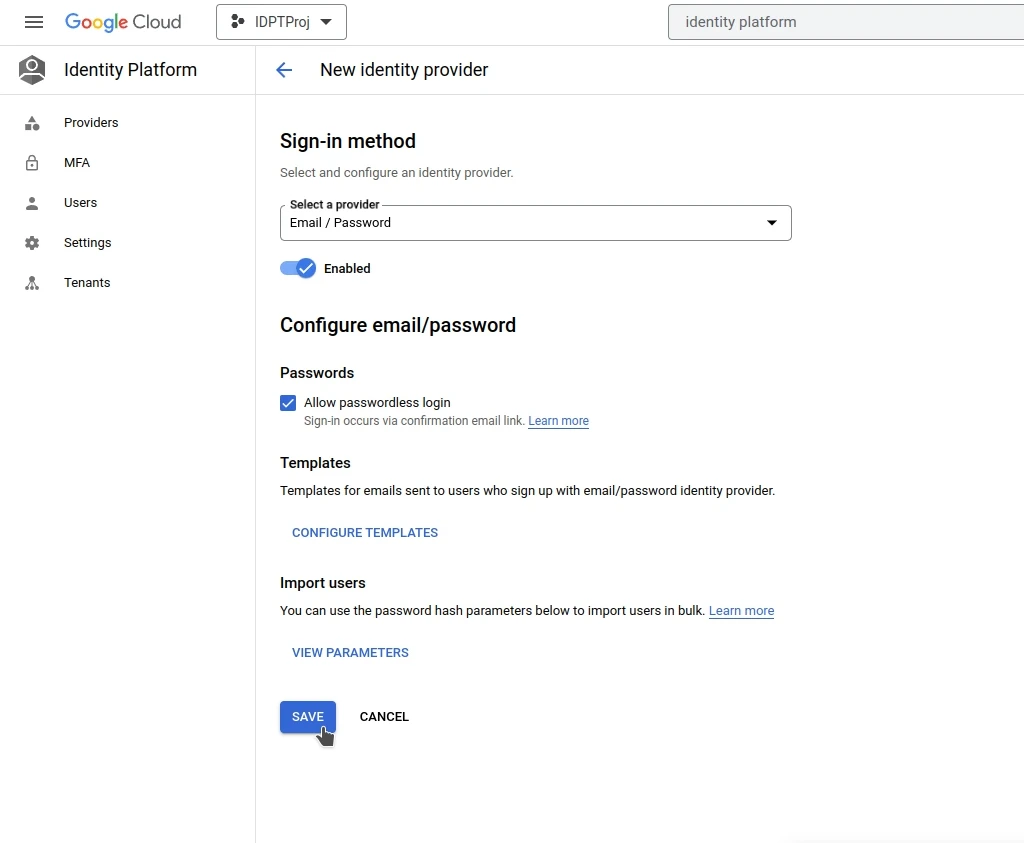
- For the purpose of this tutorial, we will be using email and password authentication. So add an email and password provider by selecting
Email/Passwordfrom the dropdown. Click onEnabledto enable the provider. You can also enable theAllow passwordless loginoption if you want to allow users to login via email links. ClickSave.
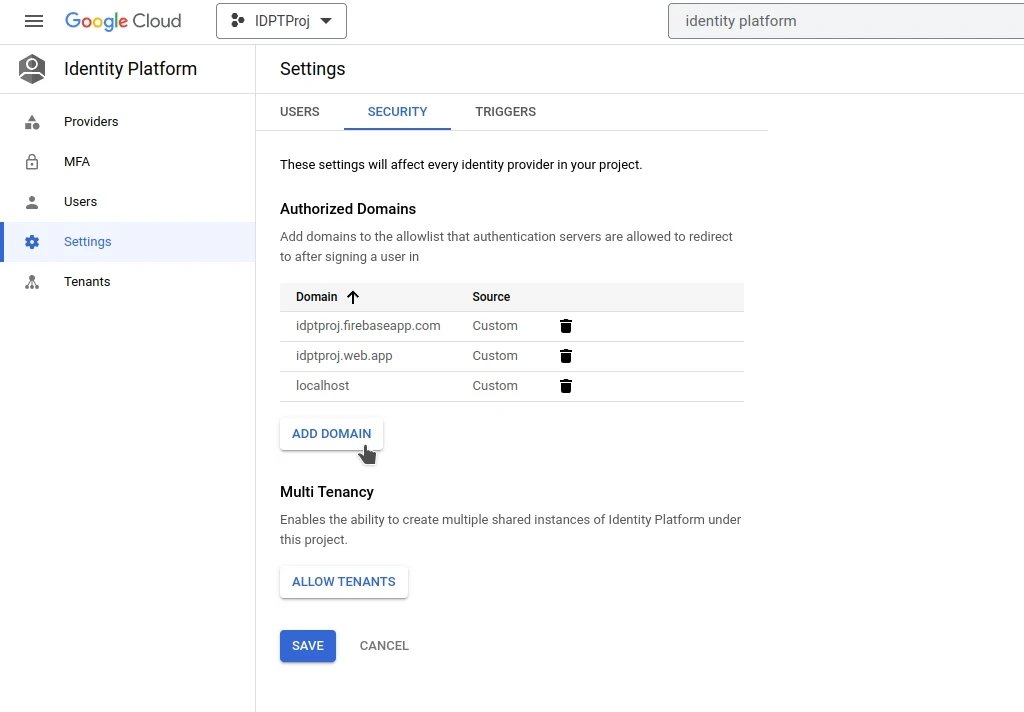
- Identity platform authorizes several domains by default, including
localhost. This is enough if you only plan to test the system locally. If you want to authorize other domains, you can add them fromSettings > Security > Authorized domains. ClickAdd domainand enter the domain name. ClickSave.
Getting the API credentials
Google Cloud Identity Platform recommends using the Firebase Admin SDK to authenticate users. To use the Firebase Admin SDK, you need to get the API credentials. Follow the steps given below to get the Firebase API credentials.
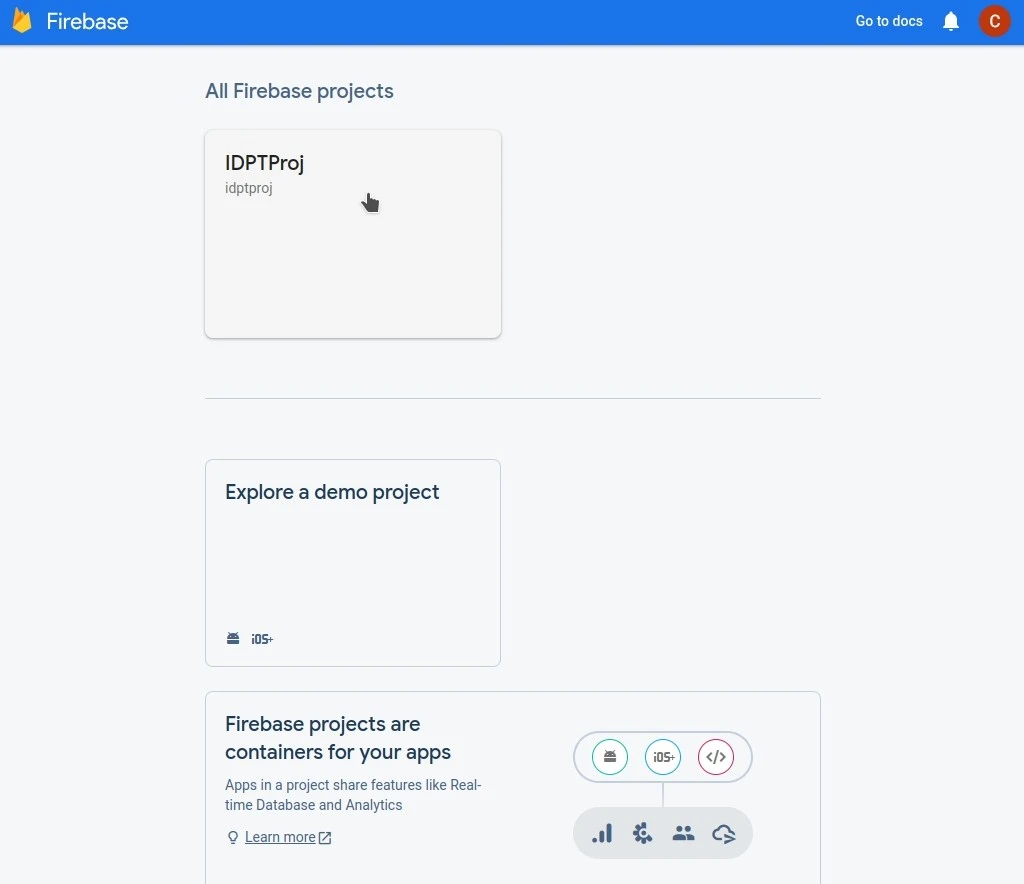
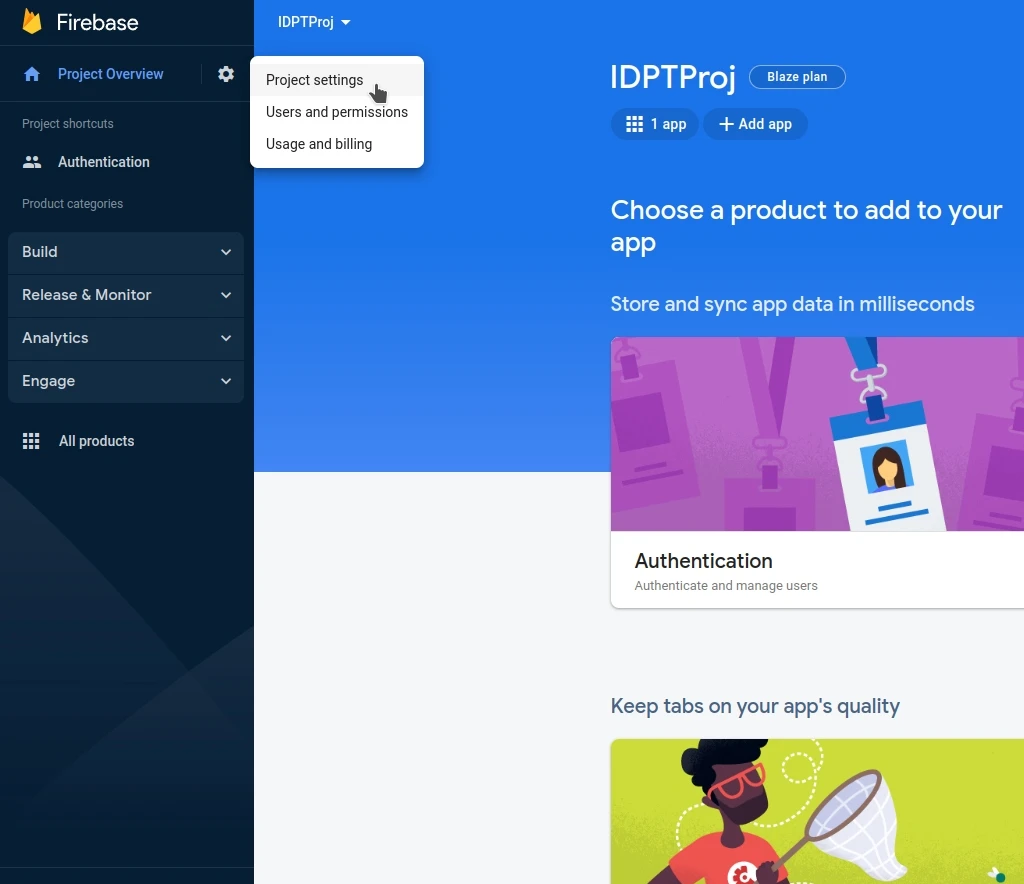
- Go to the Firebase console.
- The project you created in the previous step will be listed here. Click on the project name.
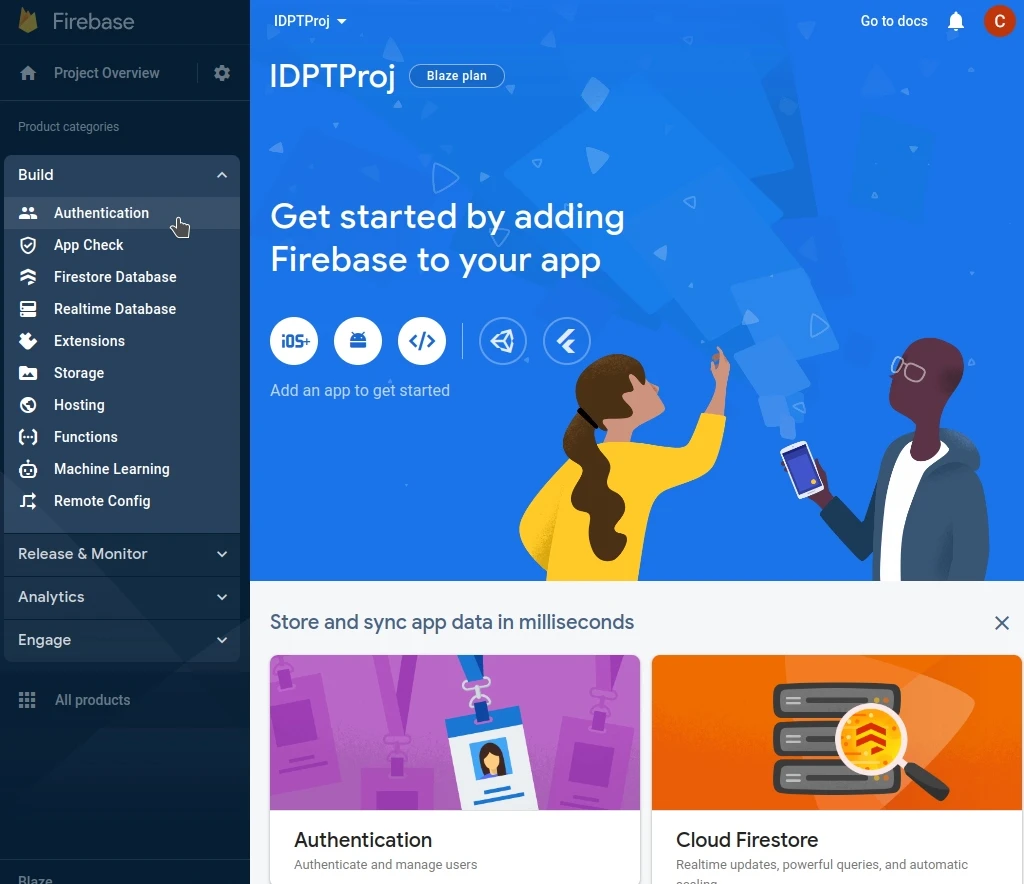
- Go to
Authentication
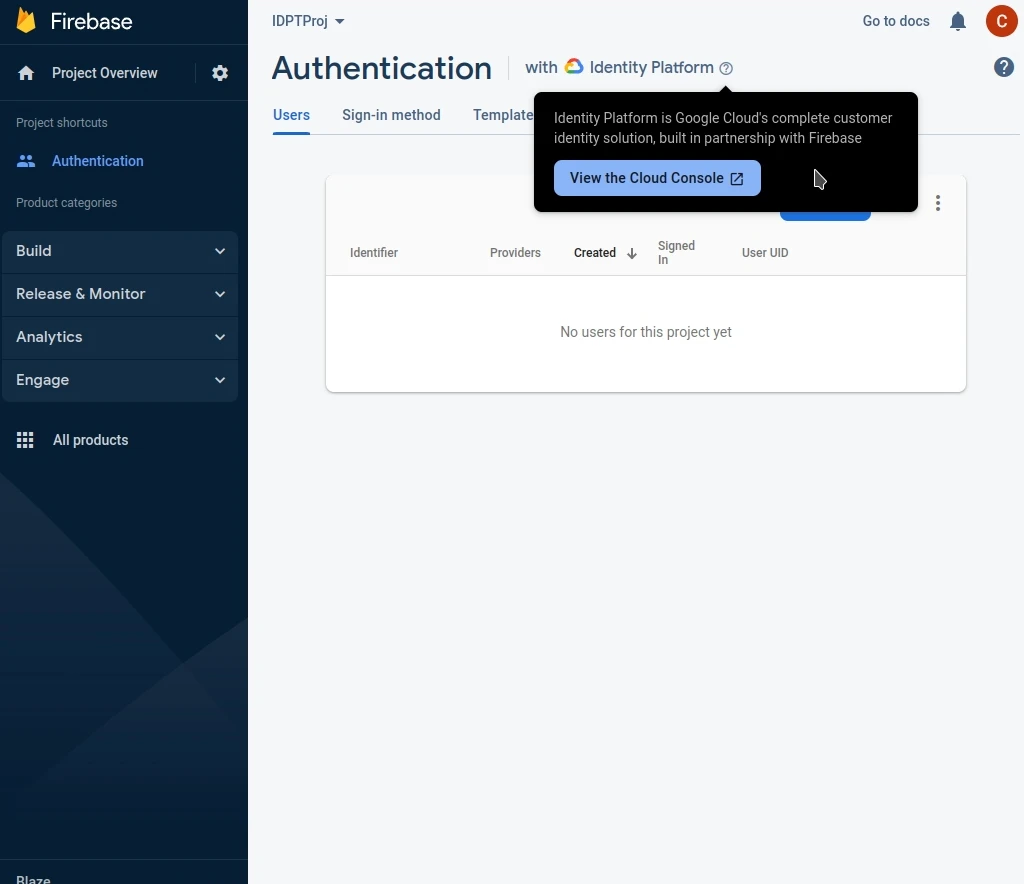
- Make sure that
with Identity Platformis visible in the top bar. If not, check your project settings and make sure that you have enabled Identity Platform.
- Go back to
Project Overviewand click on this icon to get add a web app to your project.
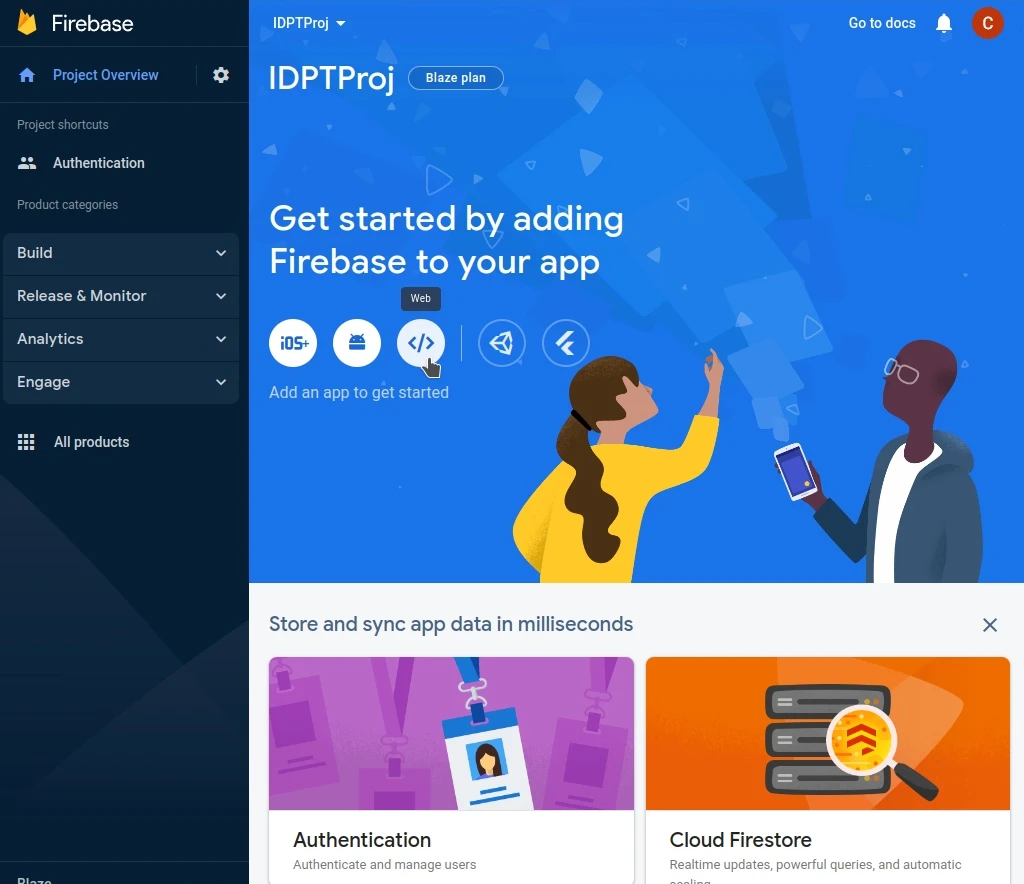
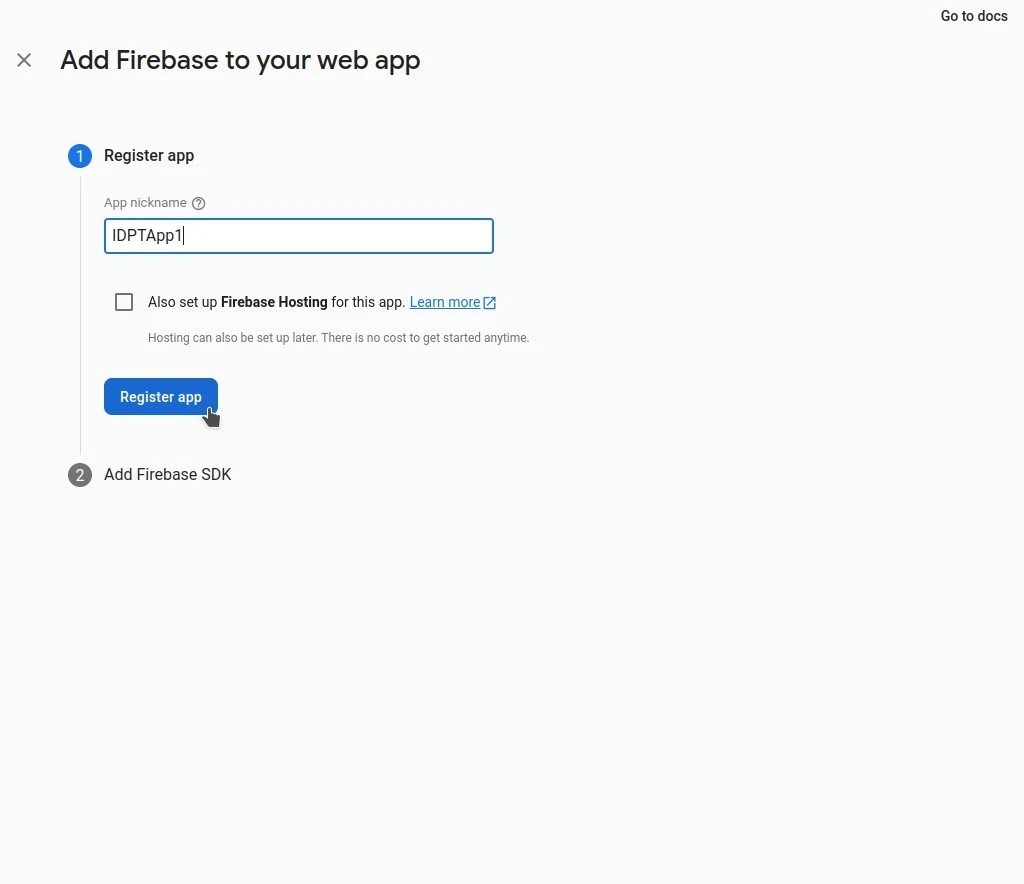
- Enter the app nickname and click
Register app.
- Copy the value of
firebaseConfig. This is the firebase configuration object that you will need to use the Firebase Admin SDK.
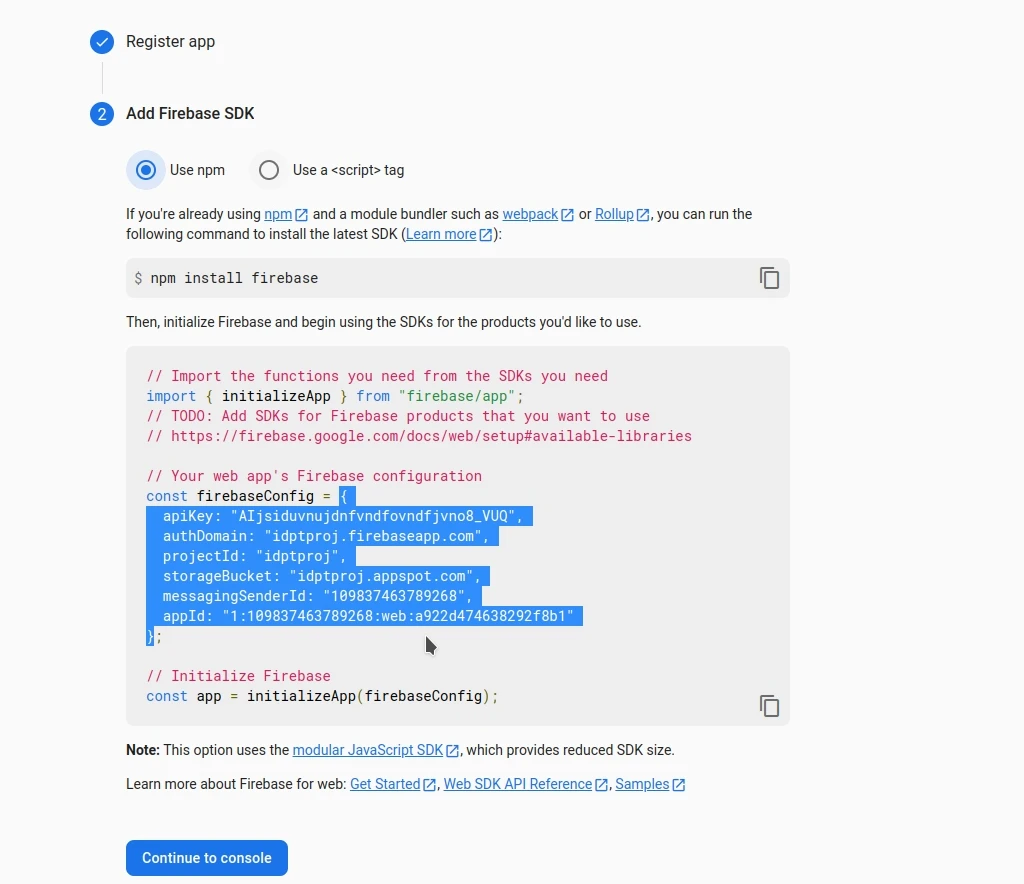
- However we need this configuration in JSON format. You can simply open the browser console (
F12) and covert this object to JSON usingJSON.stringify( )
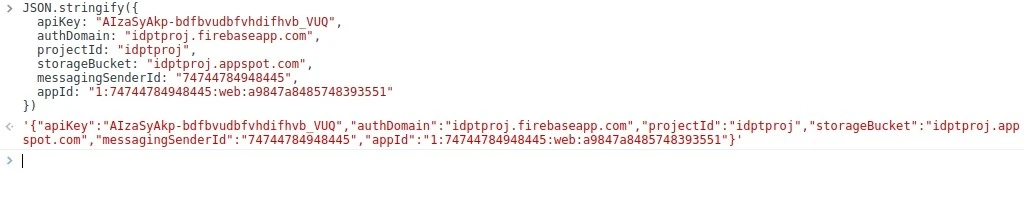
- Save this resulting JSON in the
.envfile of the project asPUBLIC_FIREBASE_CONFIG, wrapped in single quotes. If.envfile doesn't exist, create a copy of.env.exampleand rename it to.env.
PUBLIC_FIREBASE_CONFIG='{"apiKey":"AjhdfbvudhbfvudhfvuydhvfbdfuQ","authDomain":"idptproj.firebaseapp.com","projectId":"idptproj","storageBucket":"idptproj.appspot.com","messagingSenderId":"183489393488","appId":"1:183489393488:web:387483473847"}'
- Go to
Project Settingsand click onService accounts.
- Click on
Generate new private keyto generate a new private key. This will download a JSON file containing the private key.
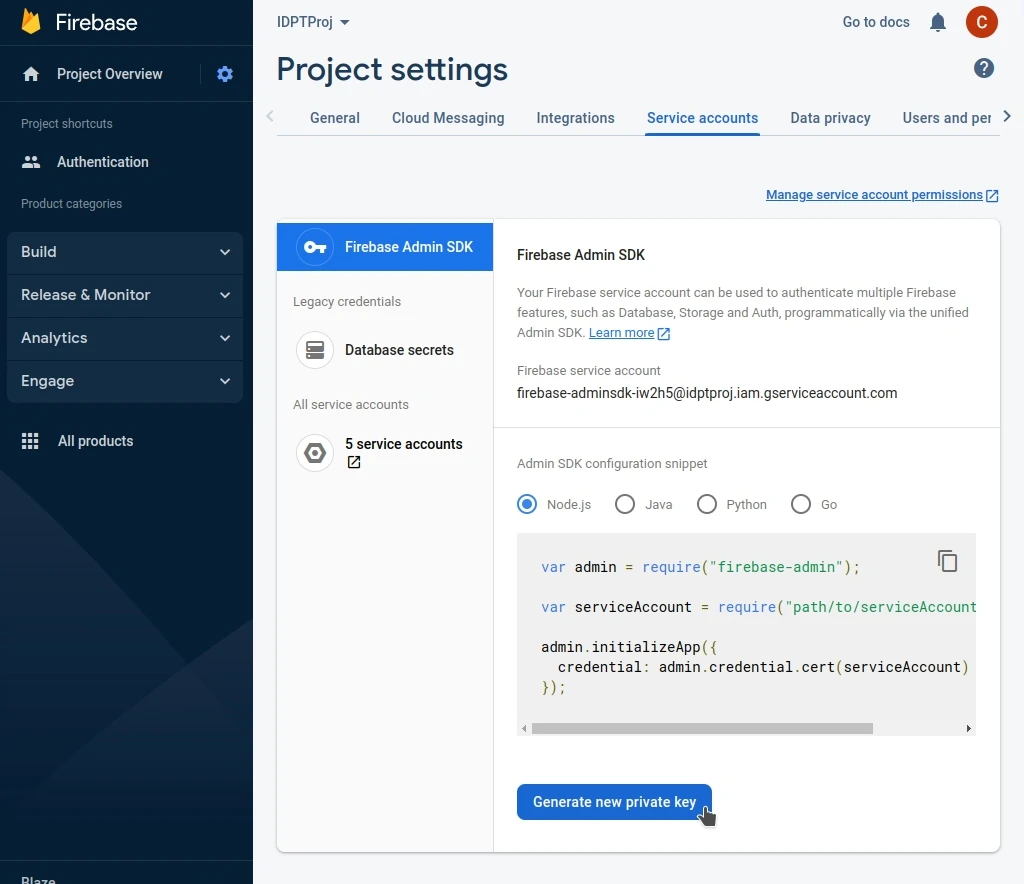
- Copy the contents of this file and save it in .env file as
FIREBASE_ADMIN_CONFIG, wrapped in back ticks.
FIREBASE_ADMIN_CONFIG=`{
  "type": "service_account",
  "project_id": "idptproj",
  "private_key_id": "93743486537465837568743568f",
  "private_key": "-----BEGIN PRIVATE KEY-----\niV3bSn6QLVCZumqdSi5VxpCASrxiV3bSn6QLVCZumqdSi5VxpCASrxiV3bSn6QLVCZumqdSi5VxpCASrxiV3bSn6QLVCZumqdSi5VxpCASrxiV3bSn6QLVCZumqdSi5VxpCASrxiV3bSn6QLVCZumqdSi5VxpCASrxiV3bSn6QLVCZumqdiV3bSn6QLVCZumqdSi5VxpCASrxSi5VxpCASrxiV3bSn6QLVCZumqdSi5VxpCASrxiiV3bSn6QLVCZumqdSi5VxpCASrxV3bSn6QLVCZumqdSi5VxpCASrxiV3bSn6QLVCZumqdSi5VxpCASrxiV3bSn6QLVCZumqdSi5VxpCASrxiV3bSn6QLVCZumqdSi5SrxiV3bSn6QLVCZumqdSi5VxpCASrxiV3bSn6QLVCZumqdSi5VxpCASrxiV3bSn6QLVCZumqdSi5VxpCASrxiV3bSn6QLVCZumqdSi5VxpCASrxiV3bSn6QLVCZumqdSi5VxpCASrxiV3bSn6QLVCZumqdSi5VxpCASrx==\n-----END PRIVATE KEY-----\n",
  "client_email": "[email protected]",
  "client_id": "11384783743487",
  "auth_uri": "https://accounts.google.com/o/oauth2/auth",
  "token_uri": "https://oauth2.googleapis.com/token",
  "auth_provider_x509_cert_url": "https://www.googleapis.com/oauth2/v1/certs",
  "client_x509_cert_url": "https://www.googleapis.com/robot/v1/metadata/x509/firebase-adminsdk-iw2h5%40idptproj.iam.gserviceaccount.com"
}`